Whether you’re a beginner trying not to break the bank or a seasoned maker looking to trim costs, this guide covers the best budget-friendly tools for sewing and fiber arts. These essentials prove that you can build a reliable toolkit without sacrificing quality.
1. Scissors and Cutting Tools
One of the first purchases any crafter makes is a good pair of scissors. While it’s tempting to splurge, you don’t need professional-grade shears to get clean cuts.
- Fabric Scissors: Brands like Fiskars and Mundial make affordable scissors that stay sharp with proper care. Always reserve them for fabric only—never paper or plastic—to extend their life.
- Thread Snips: Small spring-loaded snips can cost as little as $5 and are far more convenient than pulling out your big scissors for every loose thread.
- Rotary Cutters: For quilters or anyone cutting multiple layers, a rotary cutter is worth the investment. Mid-range options are budget-friendly and work just as well as the pricey ones. Pair with a self-healing cutting mat (available in smaller, cheaper sizes) to protect your surfaces.
2. Measuring Tools That Won’t Fail You
Accuracy is everything in sewing and fiber arts. Luckily, precise measuring doesn’t have to cost a fortune.
- Measuring Tapes: Flexible tapes are essential for clothing projects and usually cost under $3. Keep one in your purse if you shop for fabric or thrifted textiles—you’ll use it constantly.
- Clear Rulers: Quilters and crocheters benefit from acrylic rulers, which can be pricey in large sizes. Start small—an inexpensive 6x12 inch ruler covers most needs.
- Gauge Tools: Knitting and crochet gauge checkers are inexpensive plastic squares that save hours of frustration later.
3. Needles and Hooks
You don’t need to buy entire deluxe sets right away. Instead, build your collection gradually and focus on the sizes you’ll use most often.
- Sewing Needles: Packs of assorted hand-sewing needles are inexpensive and cover everything from embroidery to hemming.
- Knitting Needles: Aluminum or bamboo needles are affordable and lightweight. Start with one or two sizes you’ll use most often, like 4mm and 5mm.
- Crochet Hooks: Budget-friendly ergonomic hooks are widely available and make a world of difference for comfort. Sets can be found for under $15.
4. Pins, Clips, and Marking Tools
It’s easy to overspend on fancy notions, but budget versions often work just as well.
- Pins: Long, sharp dressmaker pins are inexpensive and versatile. Avoid very cheap, flimsy pins that bend easily—spend a couple extra dollars for durability.
- Clips: Quilters’ clips (sometimes called “wonder clips”) are perfect for bulky fabrics. Look for generic versions online; they cost far less than name brands and perform the same.
- Marking Tools: Washable fabric markers and tailor’s chalk are cheap and effective. Some crafters even swear by washable Crayola markers for fabric projects.
5. Storage Solutions on a Budget
Organization makes crafting smoother—and saves money when you don’t keep buying duplicates. But storage doesn’t need to come from the craft store.
- Repurposed Jars and Containers: Mason jars, old food containers, or even spice jars are perfect for buttons, beads, and pins.
- Dollar Store Bins: Small plastic baskets and drawer organizers cost very little and keep supplies tidy.
- DIY Pegboards: Instead of pricey studio organizers, buy an inexpensive pegboard from the hardware store and add hooks for scissors, rulers, and rotary cutters.
6. Budget-Friendly Machines and Accessories
If you’re diving into sewing, machines can be intimidating—and expensive. But you don’t need a top-of-the-line model to create beautiful projects.
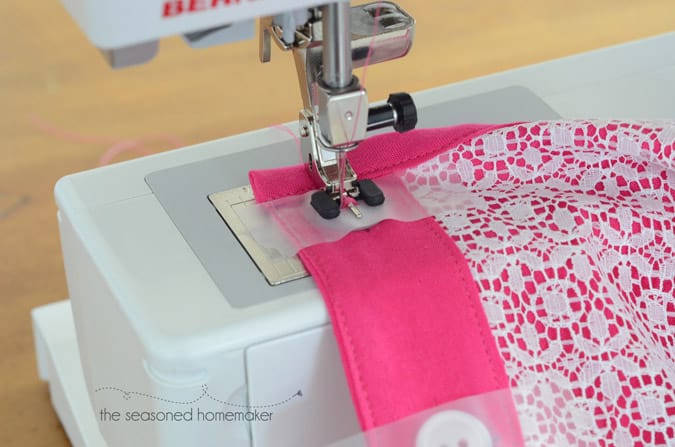
- Entry-Level Sewing Machines: Brands like Brother and Singer have affordable machines that are reliable for basic projects. Look for secondhand options at thrift stores or buy-nothing groups—you’d be surprised how many machines are waiting for a new home.
- Presser Feet Sets: Instead of buying feet one at a time, a bulk set of universal feet often costs less than a single branded foot.
- Iron and Ironing Board: Pressing is just as important as stitching. A basic iron works perfectly, and you can even use a folded towel as an ironing surface in a pinch.
7. Yarn and Fabric on a Budget
While not exactly “tools,” fabric and yarn are the heart of most fiber arts. Sourcing them wisely stretches your crafting budget further.
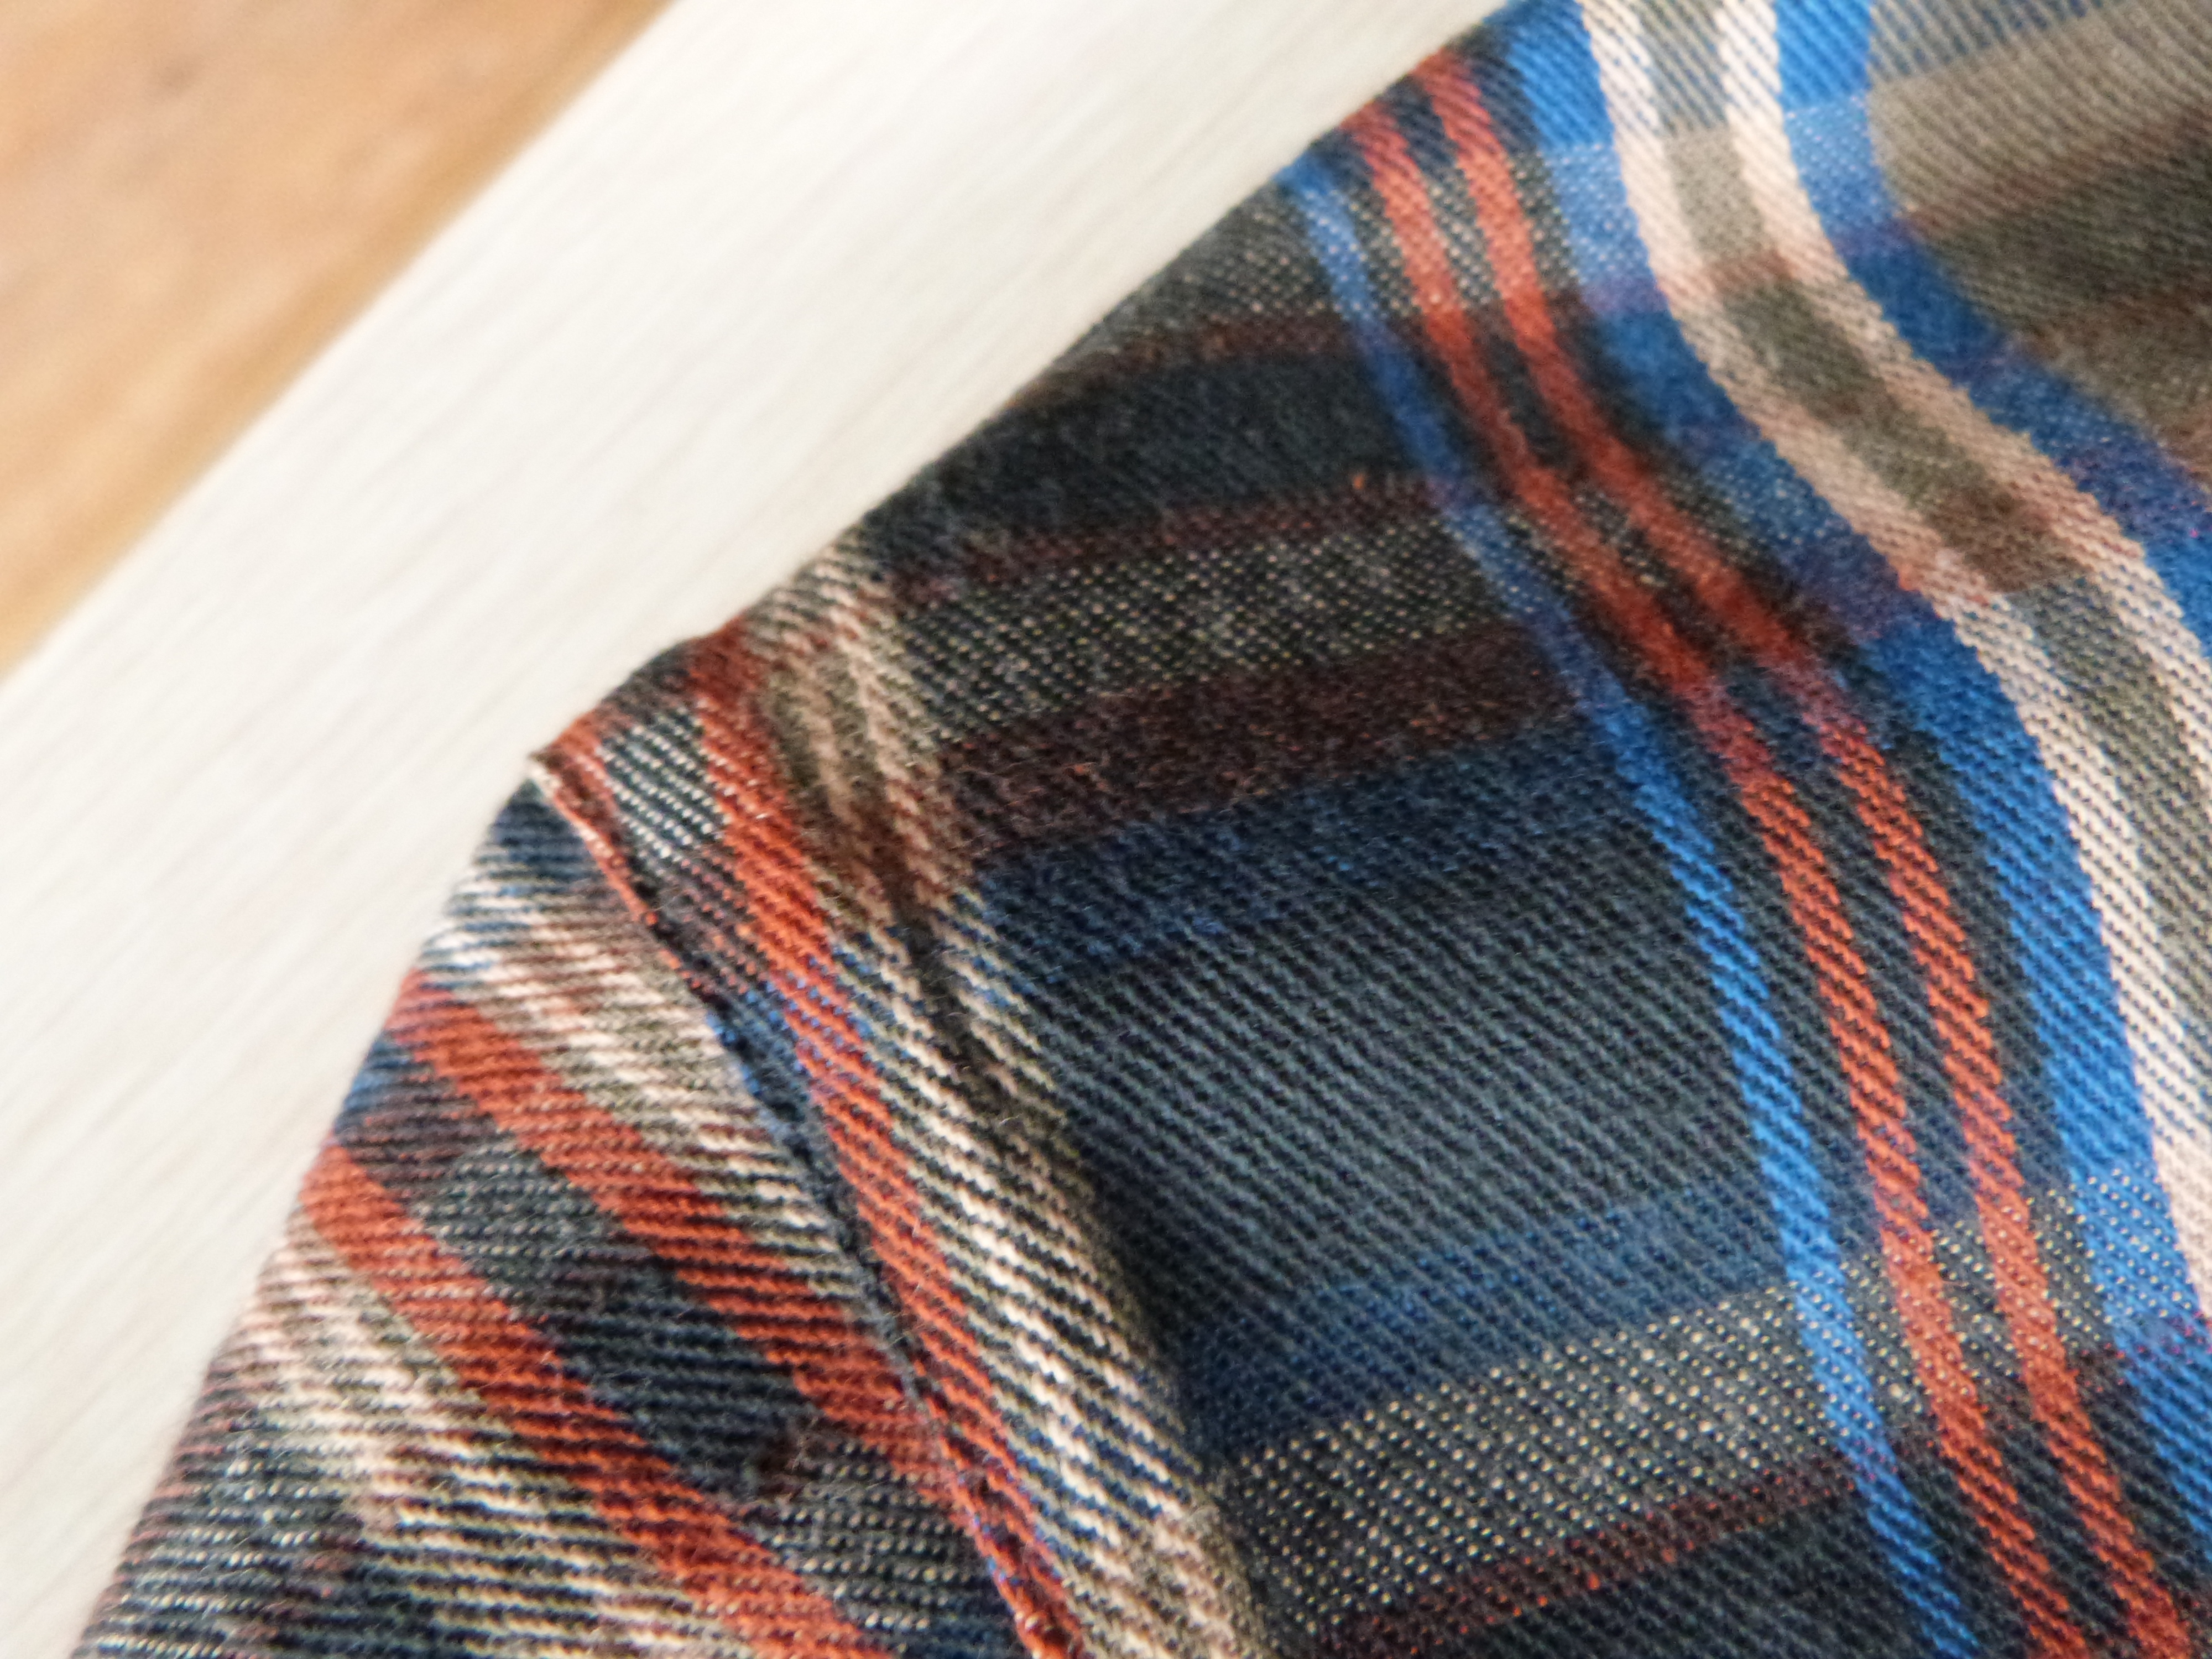
- Thrift Stores: Old sheets, tablecloths, and curtains make fantastic (and inexpensive) fabric sources.
- Scrap Bags: Many fabric shops sell discounted scrap bundles that are perfect for patchwork or small projects.
- Yarn Sales: Watch for seasonal clearances at big box stores. You can often find high-quality yarns at half the price.
- Reclaimed Materials: Unravel old sweaters or cut up worn-out clothes for fabric scraps. It’s budget-friendly and sustainable.
8. The DIY Mindset
Some of the best “tools” aren’t purchased—they’re improvised. Crafters have always been resourceful, and many budget hacks save money without sacrificing results.
- Homemade Pattern Weights: Instead of buying expensive weights, use washers from the hardware store, or fill fabric pouches with rice or beans.
- Yarn Bowls: A ceramic mixing bowl works just as well as a fancy yarn bowl.
- Blocking Mats: Instead of specialty mats, foam play mats from the dollar store are perfect for blocking knitting and crochet projects.
9. Splurge vs. Save: When to Invest
It’s worth mentioning that some tools are worth the splurge if you use them constantly. A high-quality pair of shears or an ergonomic crochet hook can pay off in comfort and durability. But for beginners—or those on a tight budget—start small. You’ll learn what you really need as you go.
Final Thoughts
Building a toolkit for sewing and fiber arts doesn’t have to drain your wallet. With a little creativity, you can find affordable versions of nearly every tool. The key is to focus on essentials first, repurpose items you already have, and slowly expand as your skills and interests grow. Remember, it’s not the price tag of your tools that matters most—it’s the love, time, and creativity you put into your craft.
Whether you’re piecing together a quilt, knitting your first scarf, or crocheting a cozy blanket, the right tools are the ones that fit your budget and your hands comfortably. Affordable doesn’t mean cheap—it means accessible. And accessibility is what keeps the fiber arts alive for generations of makers.