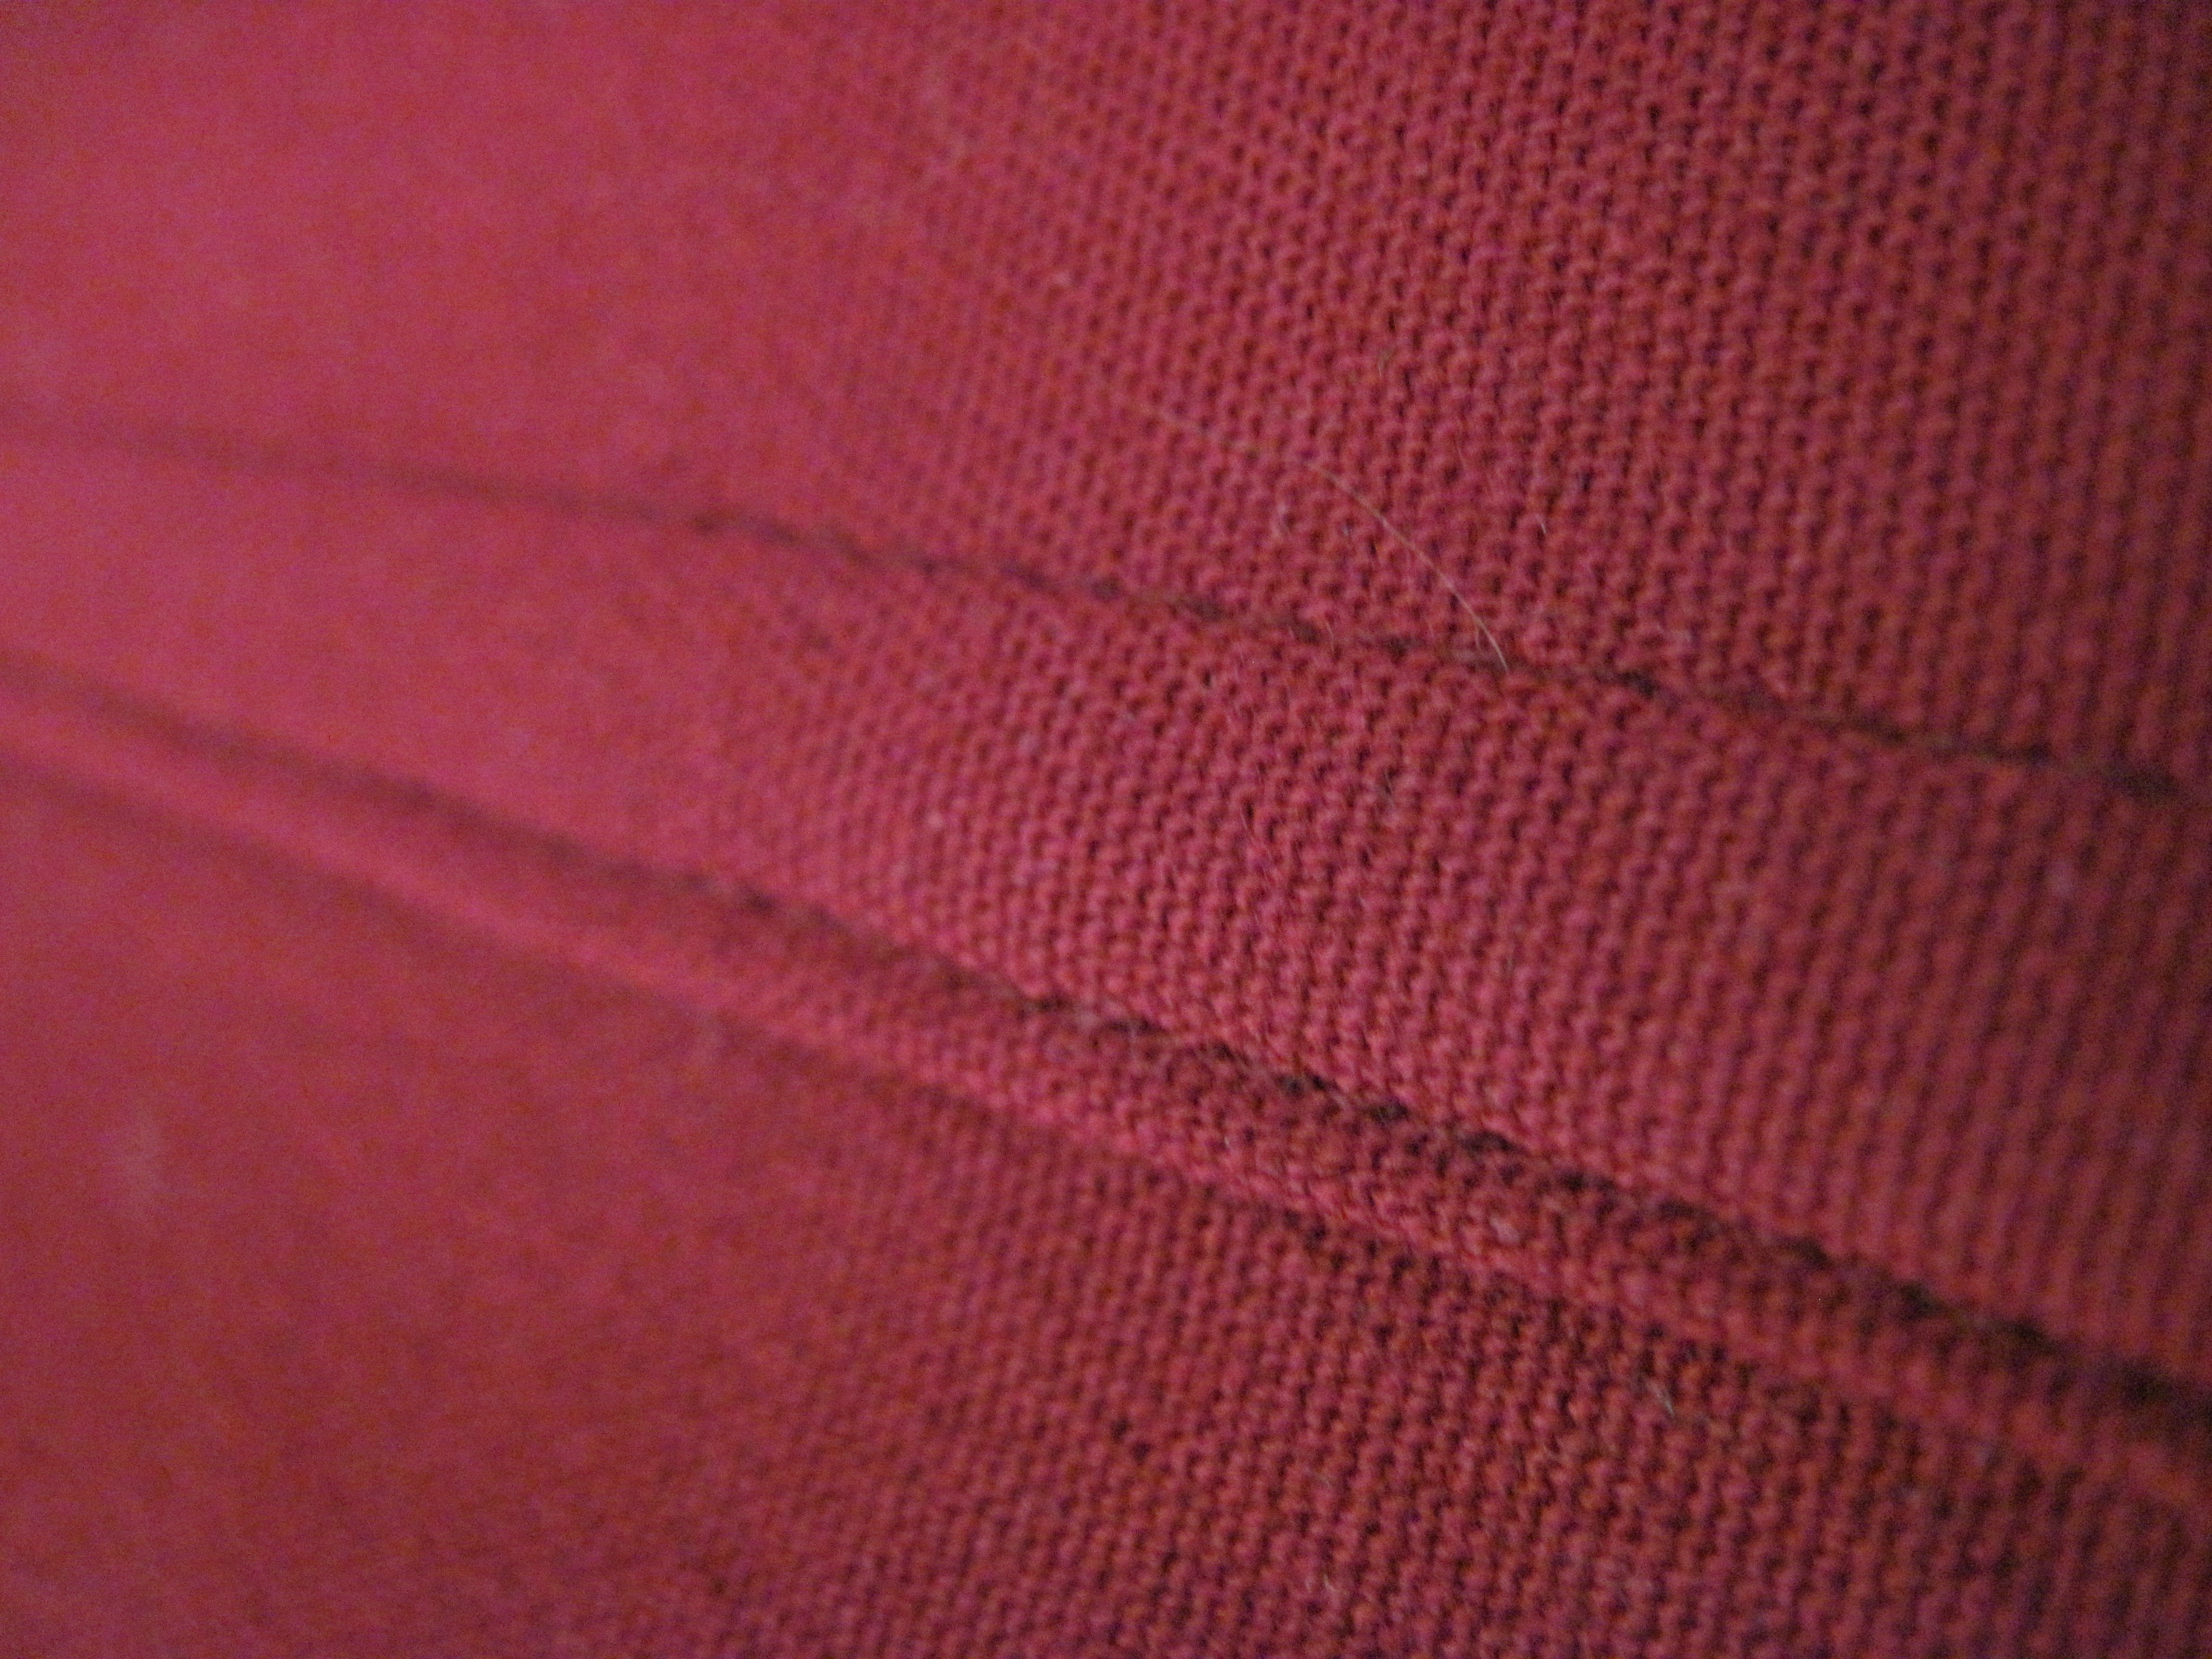
Unlike some of the other seam finishes, you actually have to know you're going to use this seam finish before you ever start your garment. This is because the raw edges of the seam have to appear on the outside of the clothing. To accomplish this, simply sew the item with wrong sides together instead of right sides together, but only on the seams where you want a flat-fell effect. If you're making jeans, you'd probably only do this on the side seams. The inseams and crotch seams are not usually created using this method. Check your favorite pair of jeans and you'll see exactly where the flat-fell is typically used. Of course, since you're making your own garment, you can use the flat-fell seam wherever you like.
Once you have your chosen seams on the outside of your garment, press both raw edges to one side. Usually you would press both edges toward the back of your garment, but the choice is yours. Just be consistent. After pressing, trim the lower seam allowance to ⅛". Fold the upper seam allowance around and under the lower seam allowance. You'll basically be folding the upper seam allowance in half and tucking the lower allowance inside it. Press again, then topstitch through all layers close to the fold, essentially sealing the seam allowances inside themselves. Topstitch once again close to the seamline just to make it all look pretty and that's your flat-fell seam.
This seam is excellent when you have to hide your seams completely, especially for those garments you want to lie flat against your skin. With this type of seam, after all, there are no seam allowances inside the garment to brush against you.